- Naming Worksheets for Aphasia — A Seven-Step Series
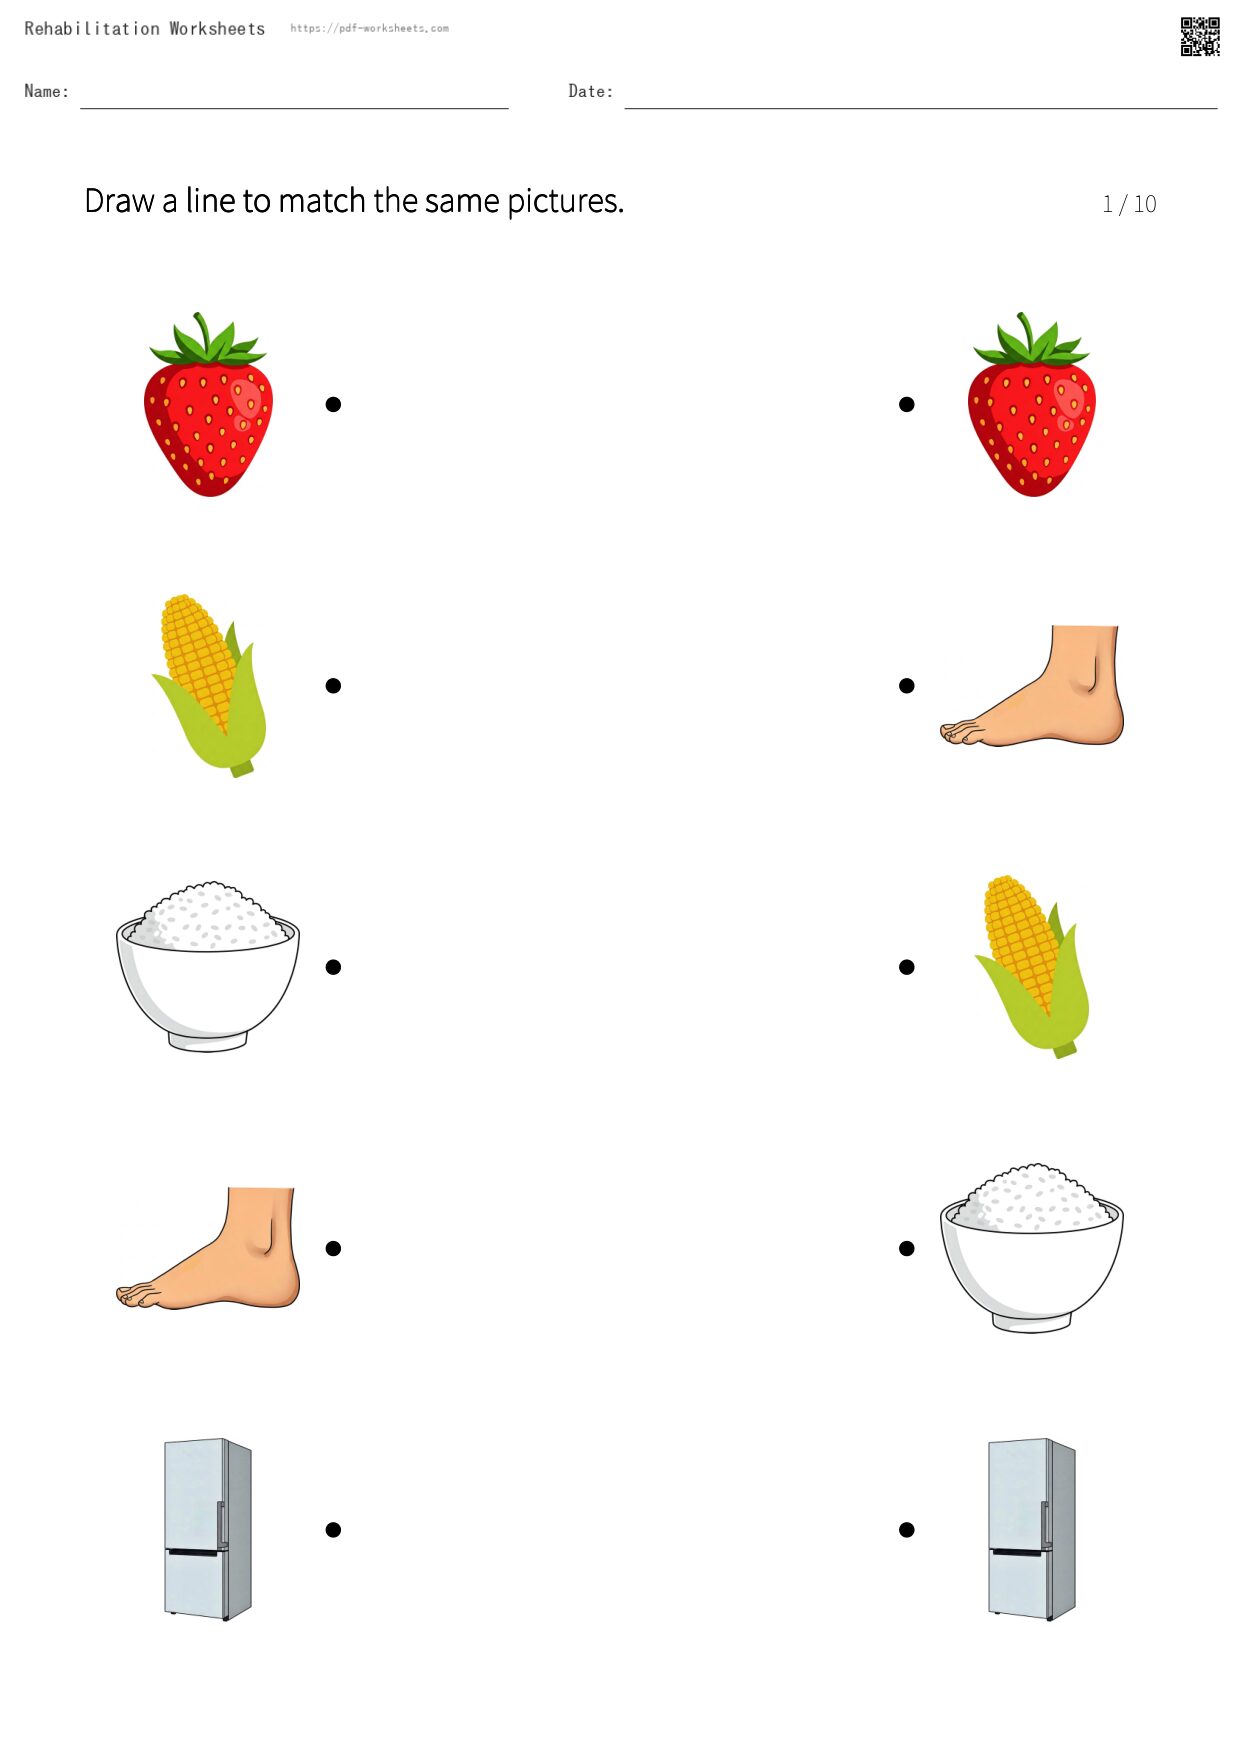
- Step 1 — Match the same pictures (no words needed)
- Step 2 — Choose from two words
- Step 3 — Choose from three words
- Step 4 — Choose from six words
- Step 5 — Match pictures with words
- Step 6 — Write the word with the first letter given
- Step 7 — Write the word with no cue
Naming Worksheets for Aphasia — A Seven-Step Series
On “Rehabilitation Worksheets,” you will find printable materials for aphasia rehabilitation. For each worksheet, one sheet is free to try, and a premium membership unlocks all of the sheets.
This page brings together our noun (picture naming) worksheets as seven steps, from more supportive to more demanding. The same illustrations run through every step, so the material stays familiar as the difficulty rises.
Why naming practice matters
Names of everyday things are the foundation of conversation. A single word — “water,” “glasses” — is often enough to make a need understood. Practising nouns feeds directly into everyday communication.
How the seven steps are arranged
The series moves gradually from recognising to producing. It begins with matching pictures, with no words involved at all. Then words are introduced and the number of choices grows from two to three to six. Finally the task becomes writing the word from memory.
Where to start
If you are unsure, start at a step that feels slightly too easy. Building up a run of successes first tends to sustain motivation better than starting at the edge of ability. It is also perfectly fine to step back when something proves hard.
Who these worksheets are for
- Speech-language therapy (ST) sessions for aphasia
- Home practice and self-training
- Language activities at day-care and care facilities
Step 1 — Match the same pictures (no words needed)
This task uses no words at all: simply draw a line between two identical pictures. It is a gentle first step for someone who is not yet ready to work with words, and it confirms that pictures are being seen and recognised.
Task to draw lines matching the same pictures (10 sheets)

Step 2 — Choose from two words
Look at the picture and choose the matching word from just two options. With only two choices there is little to weigh up, so this is a good way to check comprehension without overloading.
Task to choose the noun that matches the picture, 2 choices (10 sheets)

Step 3 — Choose from three words
A third option is added, and words from the same category (apple, orange, peach) begin to appear together. This asks for finer discrimination between related meanings.
Task to choose the noun that matches the picture, 3 choices (10 sheets)

Step 4 — Choose from six words
With six options the task also draws on visual scanning, and more of the distractors come from the same category. Use this step to confirm that meaning is well understood.
Task to choose the noun that matches the picture, 6 choices (10 sheets)

Step 5 — Match pictures with words
Five pictures and five words appear on the same page, to be linked by lines. Compared with choosing one answer at a time, this requires holding several items in mind at once.
Task to draw lines matching pictures with nouns (10 sheets)

Step 6 — Write the word with the first letter given
From here the task shifts from choosing to writing. The first letter is already filled in, giving a cue to start from and making it easier to retrieve the rest of the word.
Task to write the name of the picture with the first letter given (10 sheets)

Step 7 — Write the word with no cue
The final step: look at the picture and write its name unaided. One box per letter still indicates the length of the word, which is a light structural cue.
Task to write the name of the picture (10 sheets)

Comments